
Mast Head Floats
Save your boat and buy a mast head float! Small boats capsize. Sooner or later you will too!
Thanks to Keith at Towndock.net for catching Alan at the Oriental Boat show with the Mast head Floats!
Usually a small boat capsize is not a big deal and if you've been sailing small boats very long you have probably experienced a capsize or two. You should know (and practice) how to swim around to the centerboard and lever the boat back upright BUT Albert Einstein may have said it best... “In theory, theory and practice are the same. In practice, they are not.”
Conditions may be much more than you bargained for, your favorite hat may be floating away. Whatever the case if you don't get to the centerboard quickly enough it is quite likely your boat can go "turtle" meaning the mast drops below the waters surface and the boat completely inverts usually making recovery much more difficult in the best case and impossible in the worst. Our boats are perfectly suited to sailing in the shallow and often mucky waters of the Outer Banks but sticking the tops of the masts of any boat in the mud often means a tow is required to get un-stuck if the boat turtles especially when the wind is up. Below, a Core Sound 17 during capsize camp 2019 with mast stuck in the mud required a tow forward to get un-stuck.

Some small boats have enough volume in the mast itself to prevent turtling or at least delay it but few masts are perfectly sealed and water starts to get in making the mast heavy. If the mast fills with water if can be impossible to right a small boat by leveraging the centerboard. What if the centerboard is up? Then what do you do? If you're reading this thinking..."I have no idea". Then we highly recommend you practice a capsize in your small boat at the next available opportunity close to shore in calm water and get some experience before you are caught off guard!
Enter the mast head float! A mast head float is the simplest and best way to make a small boat un-turtle-able and most importantly, make you more self sufficient on the water. With a mast head float, you have plenty of time to right the boat without worrying about turtling. Below, the crew holds onto the mizzen mast and the heavier skipper prepares to right the boat. The crew is scooped aboard automatically and can then assist their partner and keep the boat under control. Check out the video here.

When designing a mast head float we apply the same design principles we always do. It must be simple, reliable and light weight. But that isn't quite enough, we also do not want to sacrifice performance. Our design is simple to assemble, very light weight and always points into the wind with a aerodynamic shape to minimize drag as much as possible. It is quickly removed from the top of the mast with a cotter pin. We were partly inspired by Russell Brown's rebuilt mast float for his G32 catamaran which he sailed in the Race to Alaska. The G32 of course was designed by Jan and Meade Gougeon who have always been a strong advocate of self sufficient sailboat designs that could be recovered from a capsize in any conditions. You can see pictures of that float here. While his float is immaculately built, it requires molds to construct. We wanted a simple to build version suitable for small boats.
How to order:
1. Choose your size. We have two sizes available. A 20lb buoyancy float (spec sheet) and a 30lb buoyancy float (spec sheet). The 20lb version is suitable for the Core Sound 15 or 17. The 30lb float is suitable for the Core Sound 20. We have started a size and option database to help you choose. Check here if your boat is listed. If not we'll help you figure it out.
2. Choose your height. For Core Sound boats the standard height puts the float right at the top of the mast but If your boat has a mast head sheave and the brackets need to mount lower down, then the float needs to clear the sheave in order to rotate. In this case choose the EXTENDED mast option which will ship with 6" extra of PVC pipe and aluminum tubing so you can cut the floats "mast" exactly to suit your boat. See this diagram of how this works and feel free to send us a picture if you're not sure.
3. Choose your bracket shape. Floats are installed using our "Side mount Brackets" (click here for pictures). The standard brackets fit a 2" diameter round mast. We can custom make brackets as needed just send us a cross section of your mast. For example we did a 3" diameter bracket for a Flying Scott. Our Brackets are 3d printed from solid ASA plasic. The brackets are attached by drilling and tapping 10-32 stainless machine screws into the mast. Click here for a 1:1 drawing of our standard bracket to see if it will fit your mast.
What's included?
-
CNC cut foam layers (2 tops, 2 middles)
-
1 x 3mm okoume tail fin (**see template if hand cutting)
-
1 x 3/4” PVC Pipe section x 8 1/8” long (~1” OD) (14 1/8” for extended version)
-
1 x 12” section of 3/4” O.D 6061-T6 aluminum tube (18” for extended version)
-
2 x Stainless Steel “button pins”
-
1 yard of 4oz glass OR 1.5 yards of 4oz glass for the 30lb float
-
2oz of Microsphere epoxy filler for coating and smoothing glass.
-
2 3D printed mounting brackets
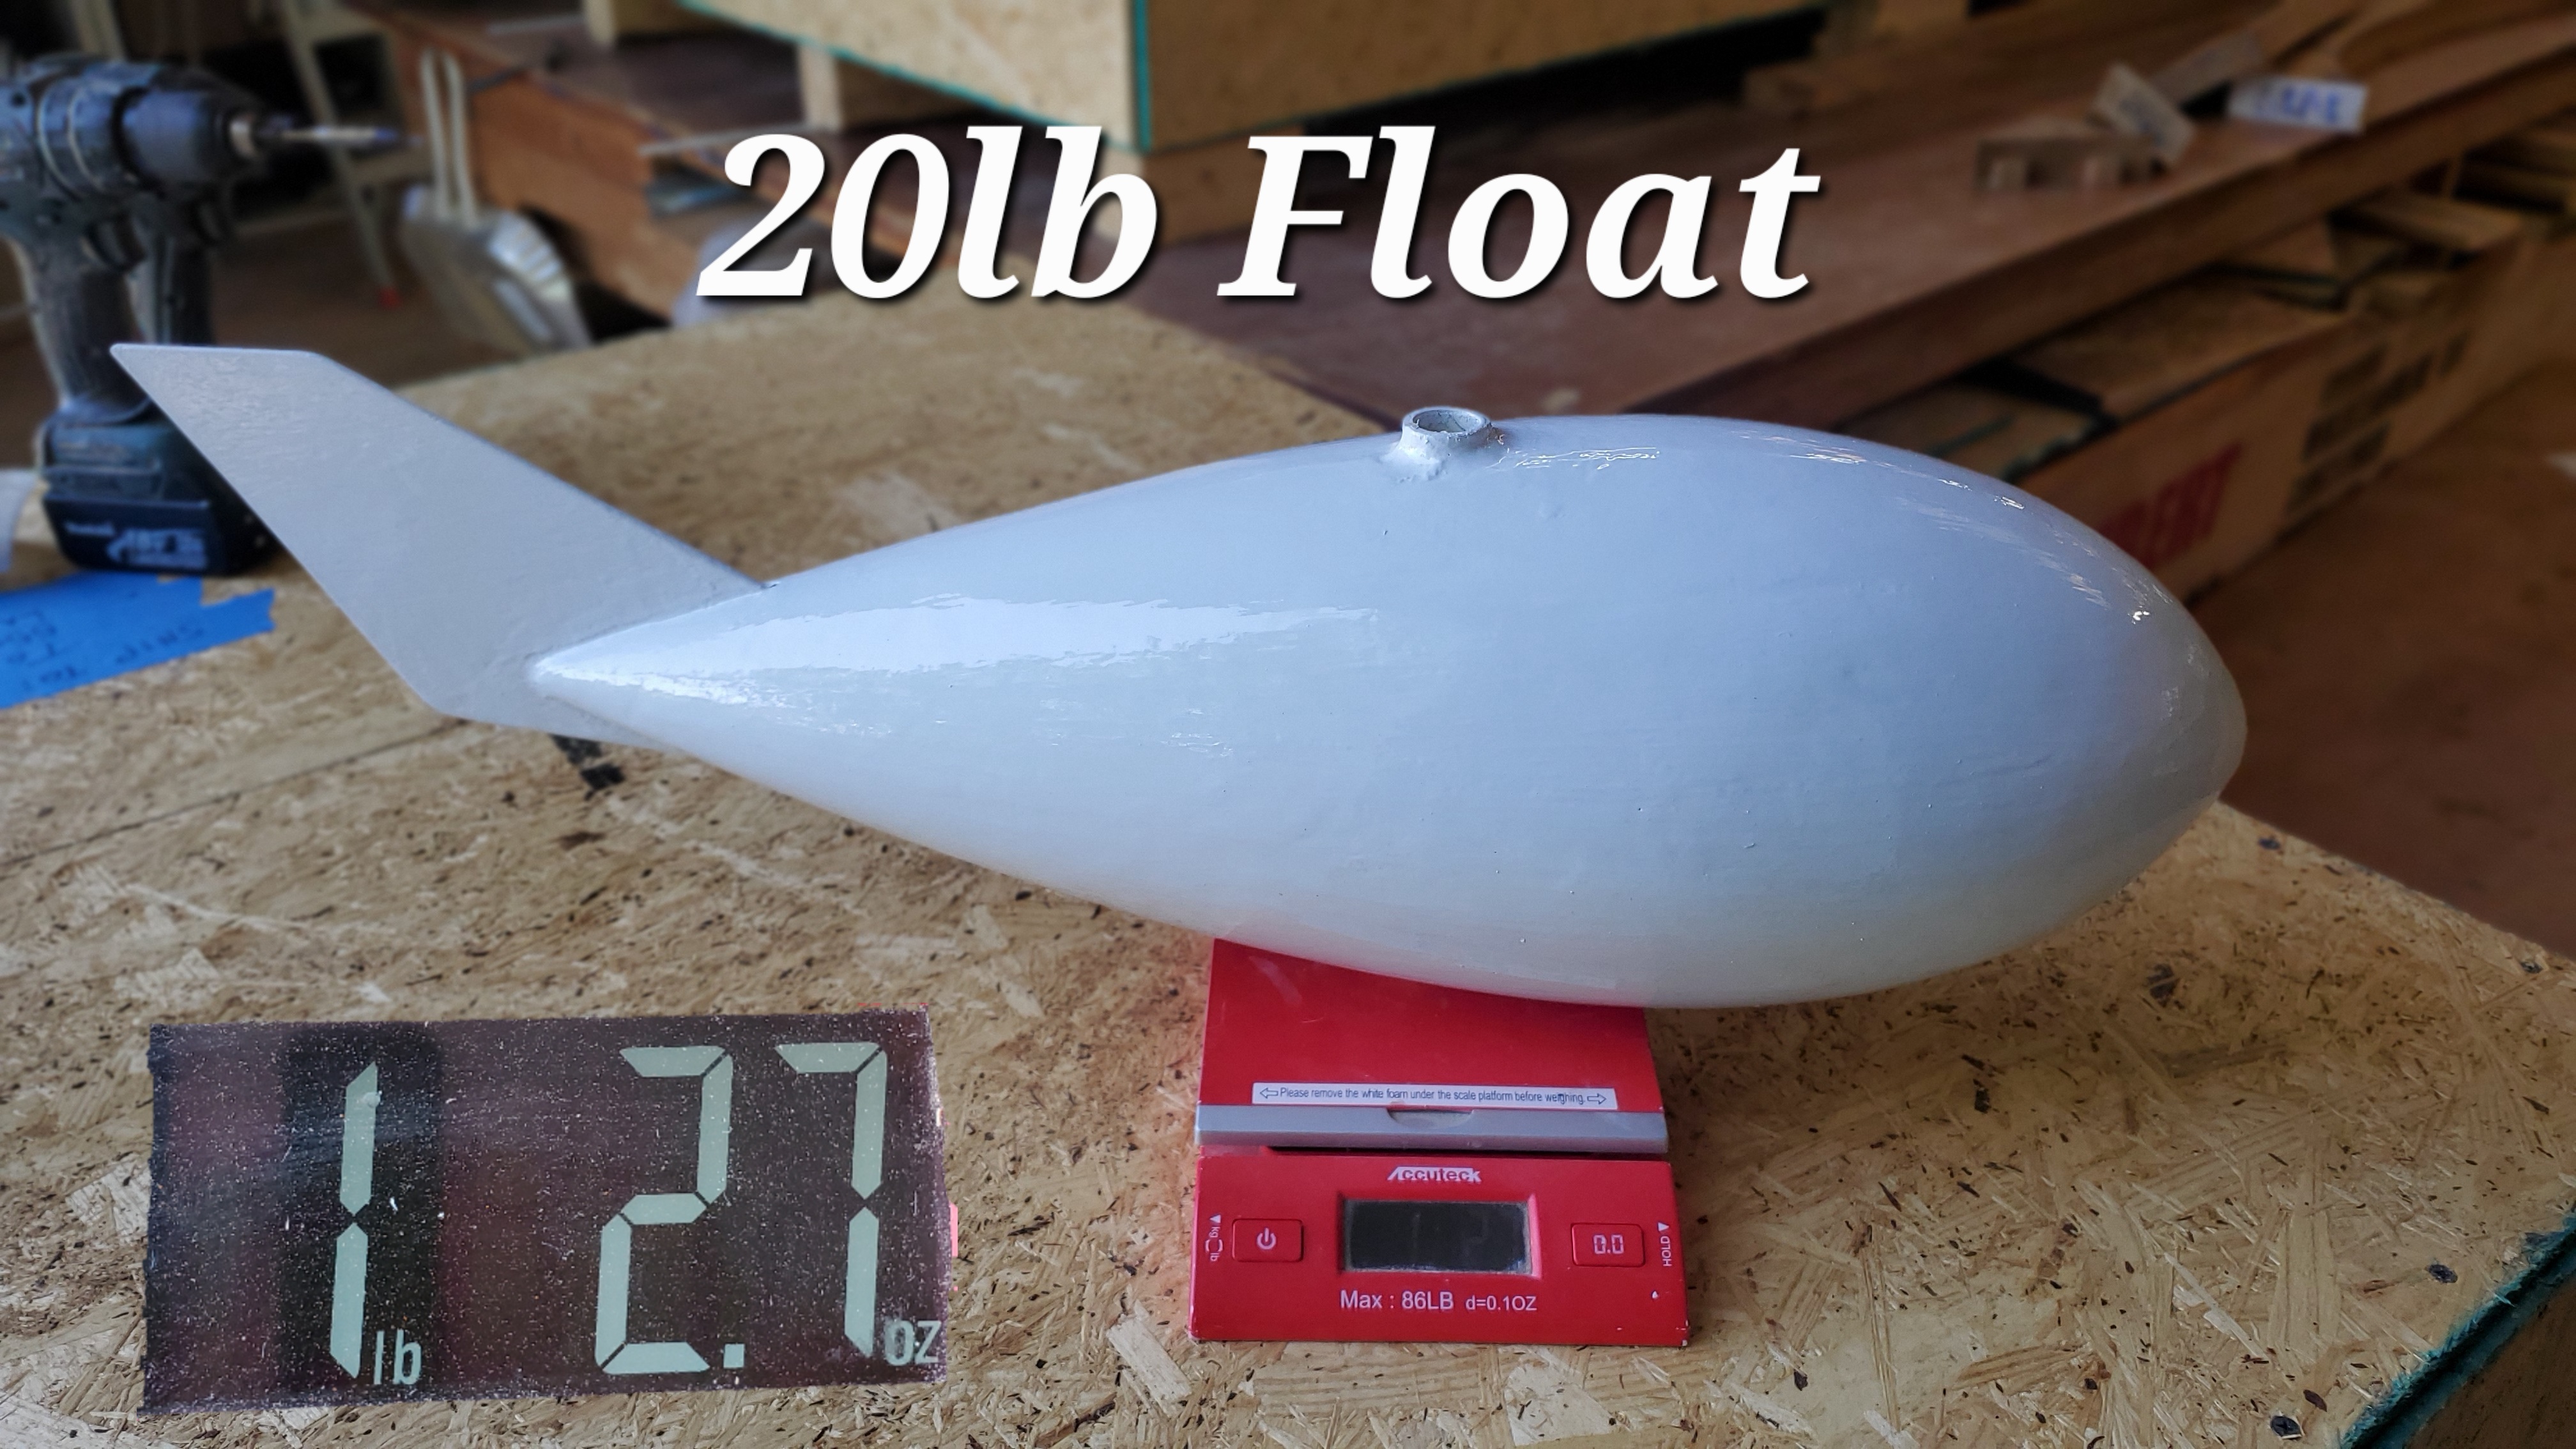
Our glassed and painted 20lb float weighs just over 1lb with a couple ounces of balance weight in the nose.
Pictured above, Graham's 20lb float for Carlita.
Click here to see our mast head float construction album.
Click here to see some finished floats!
Jump in the latest mast head float discussion in this thread.
Check out our Capsize Camp where we gather and practice capsize recovery together.