Product Description
Catspaw
CLICK HERE to see our general album of construction photos for the Catspaw
CLICK HERE to see Graham’s construction album of his Nesting Minipaw
 | Our own Catspaw 8 built in 1979 in the middle east. Cruising Turkey in 1981.
Our cat loved to ride in the dinghy and often “helped” with design work…hence the name. |
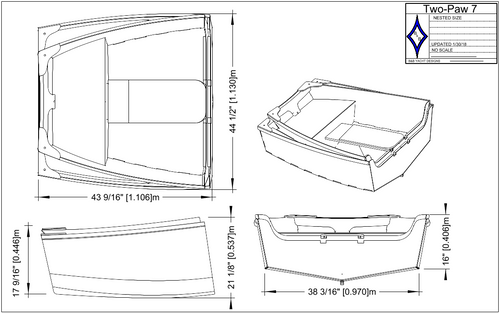
| MODEL | LENGTH * | MAX BEAM** | NESTED HEIGHT | WEIGHT | HP | SAIL AREA | # *** | * Two- Paw lengths are given as assembled/nested length
** beam to outside of gunwale and fenderng *** Number of passengers for normal use as a tender. NOTE: Nesting dinghies are designed for rowing/sailing only. Flotation bags MUST be used with an outboard. |
| Minipaw | 6’ 6″ | 3’ 9″ | N/A | 38 – 45 | Row | N/A | 2 | |
| Catspaw 7 | 7’ 0″ | 3’ 11″ | N/A | 50 – 60 | Row | N/A | 2 – 3 | |
| Catspaw 8 | 7’ 10 ½ “ | 4’ ½” | N/A | 60 – 70 | 2.5 | 36 sq feet | 3 – 4 | |
| Catspaw 9 | 9’ 0″ | 4’ 4″ | N/A | 70 – 80 | 2.5 | 45 sq feet | 3 – 4 | |
| Two-Paw 8 | 7’10″/ 4’ 0″ | 4′ ½” | 1’8″ | 65 – 75 | 2.5 note: flotation required | 36 sq feet | 3 – 4 | |
| Two-Paw 9 | 9’ 0″/4’ 8″ | 4’ 4″ | 1’8″ | 75 – 85 | 2.5 note: flotation required | 45 sq feet | 3 – 4 |
| All 8’ & 9’ plans offer both bermudian and sprit rig options in the standard package. The Catspaw 8 package also offers two layouts, and choice of centerboard or tacking leeboard. |
|
| Our line of standard dinghy/tenders were designed to meet the needs of your varied boating requirements. Regardless of the size of your yacht or crew there is a tender for you. Small boat and/or small crew, try the Mini-paw or Catspaw 7, average size boat and crew, the 8′ Catspaw is the classic standard for a hardworking dinghy with sailing capability. If you have a little more room, enjoy the enhanced sailing and greater carrying of the Catspaw 9. Big crew -small boat the toughest situation: try the Two-Paws and you can “have it all”. |
| For a working tender there is nothing quite as efficient as a pram design. It offers the greatest load carrying ability in the shortest length. Hence the degree of care and design detail we have put into these little boats. These boats have to be versatile and do several things well – a tall order in a small package. We feel we have accomplished this. All of the models row and tow beautifully. The 8′ and 9′ models also sail and can take a small motor. This versatility and sparkling performance is something no inflatable can offer.
Speaking of sailing: You will notice that many of our Catspaws are shown using the sprit rig. Perhaps you are not familiar with this rather old fashioned rig. We particularly like for Catspaws which are being used as working tenders because it is so handy. Each of the models is designed so that the amateur can build it. This is a wonderful family project…and no pre-knowledge of boat building is expected. Design detail and instructions walk you through the process. You also have the option of customizing your tender for your needs…put in a locker here, paint your own color there. And when it’s completed, the adults and children can all enjoy the fruits of the labor. You’ll have a hardworking boat – and a family heirloom – because this little boat will last over a lifetime. Of course if you have larger boat or need to use your dinghy primarily as a recreational sailer – you might prefer one of our line of Spindrift dinghy/tenders |
    | |
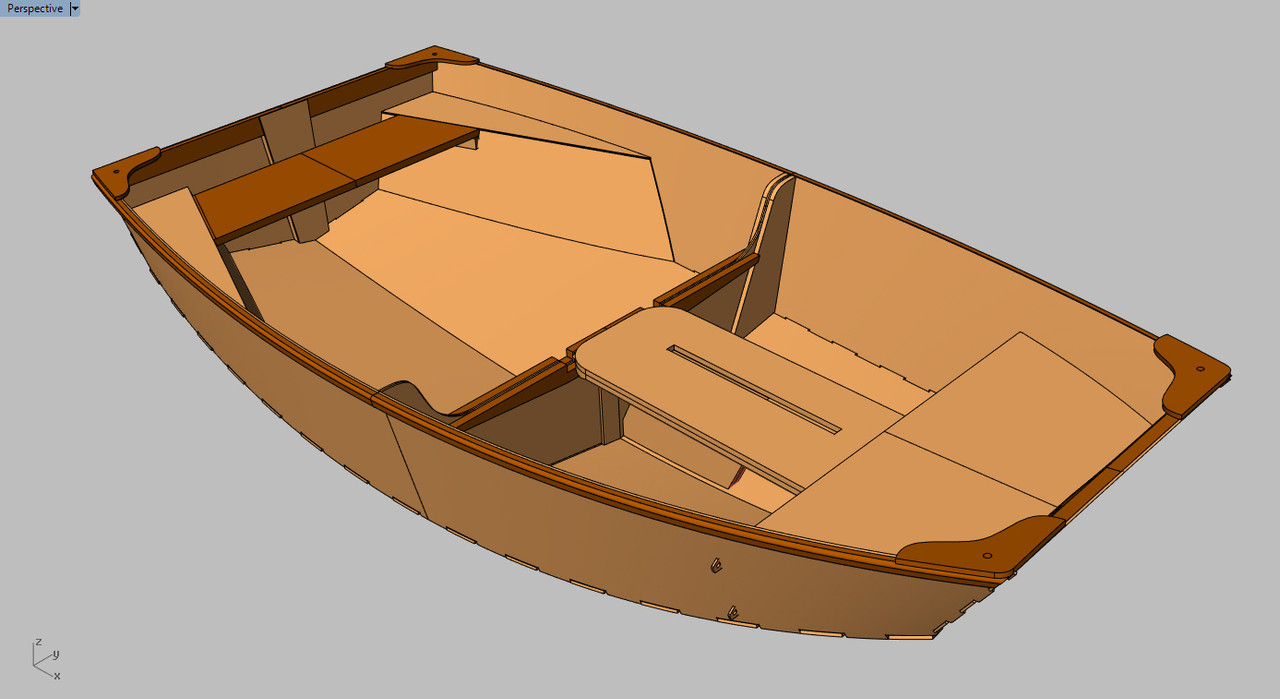
| Pictured above from left: a nested Two-Paw 8 (prior to painting) in it’s nested mode, and laying our ready for assembly. A Two-Paw 9 demonstrates the reefed and unreefed sail in the sprit configuration. Note that when joined, there is no visible bump or break at the join! |
|
|  | |||
| A “Mini” snuggles on deck, happy even in this limited space on a small boat. | ||||
|
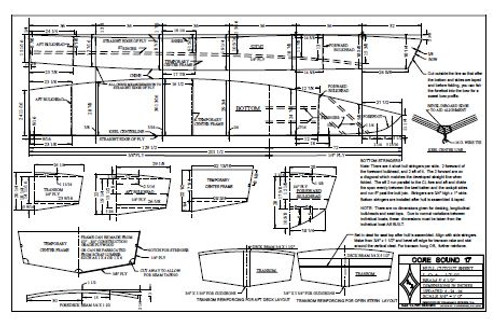
| All catspaws are built from pre-developed hull panels. Each panel is simply marked from the plan dimensions, and layed out directly on the plywood. Cut them out, | Above: a Catspaw 8; “A” layout. Note the dual rowing stations, sculling station, floatation and fore and aft seat. Below: a Minipaw, with the T-seat – dual rowing station layout, you can balance various loads. | ||
| wire them together and epoxy/glass tape the seams. No building jigs are required, no lofting and no special knowledge.
| ||||
